Step 1 :- Get Start app Developer id and app id.
For Demo Developer id :- 107851386 and App id :- 208244013
Step 2 :- Create new project.
Step 3 :- Open Android Manifest file and add this permission and code.
For Start app in-app and Search Box ads this permission required.
<uses-permission android:name="android.permission.INTERNET"/>
<uses-permission android:name="android.permission.ACCESS_WIFI_STATE"/>
<uses-permission android:name="android.permission.ACCESS_NETWORK_STATE"/>
<uses-permission android:name="android.permission.READ_PHONE_STATE"/>
<uses-permission android:name="android.permission.SYSTEM_ALERT_WINDOW"/>
<uses-permission android:name="android.permission.GET_TASKS"/>
add this code in application
<activity android:name="com.startapp.android.eula.EULAActivity"
android:theme="@android:style/Theme.Translucent"
android:configChanges="keyboard|keyboardHidden|orientation" />
<activity android:name="com.startapp.android.publish.list3d.List3DActivity"
android:taskAffinity="<package_name>.AppWall"
android:theme="@android:style/Theme" />
<activity android:name="com.startapp.android.publish.AppWallActivity"
android:theme="@android:style/Theme.Translucent" android:taskAffinity="<package_name>.AppWall"
android:configChanges="orientation|keyboardHidden" />
<meta-data android:name="com.startapp.android.DEV_ID" android:value="<Your Developer ID>"/>
<meta-data android:name="com.startapp.android.APP_ID" android:value="<Your App ID>"/>
Finally Android manifest.xml file look like below.
<?xml version="1.0" encoding="utf-8"?>
<manifest xmlns:android="http://schemas.android.com/apk/res/android"
package="com.example.startapp"
android:versionCode="1"
android:versionName="1.0" >
<uses-sdk
android:minSdkVersion="8"
android:targetSdkVersion="18" />
<uses-permission android:name="android.permission.INTERNET" />
<uses-permission android:name="android.permission.ACCESS_WIFI_STATE" />
<uses-permission android:name="android.permission.ACCESS_NETWORK_STATE" />
<uses-permission android:name="android.permission.READ_PHONE_STATE" />
<uses-permission android:name="android.permission.SYSTEM_ALERT_WINDOW" />
<uses-permission android:name="android.permission.GET_TASKS" />
<application
android:allowBackup="true"
android:icon="@drawable/ic_launcher"
android:label="@string/app_name"
android:theme="@style/AppTheme" >
<activity
android:name="com.startapp.android.eula.EULAActivity"
android:configChanges="keyboard|keyboardHidden|orientation"
android:theme="@android:style/Theme.Translucent" />
<activity
android:name="com.startapp.android.publish.list3d.List3DActivity"
android:taskAffinity="com.example.startapp.AppWall"
android:theme="@android:style/Theme" />
<activity
android:name="com.startapp.android.publish.AppWallActivity"
android:configChanges="orientation|keyboardHidden"
android:taskAffinity="com.example.startapp.AppWall"
android:theme="@android:style/Theme.Translucent" />
<meta-data
android:name="com.startapp.android.DEV_ID"
android:value="107851386" />
<meta-data
android:name="com.startapp.android.APP_ID"
android:value="208244013" />
<activity
android:name="com.example.startapp.MainActivity"
android:label="@string/app_name" >
<intent-filter>
<action android:name="android.intent.action.MAIN" />
<category android:name="android.intent.category.LAUNCHER" />
</intent-filter>
</activity>
</application>
</manifest>
Step 4 :- Copy StartAppInApp-2.0.2 and StartAppSearchBox-1.0.1 past in to your lib folder at your project.
Step 5 :- For Banner ads place this code in your xml file.
<com.startapp.android.publish.banner.Banner
android:id="@+id/startAppBanner"
android:layout_width="wrap_content"
android:layout_height="wrap_content"/>
1. Adding a Standard Banner
<com.startapp.android.publish.banner.bannerstandard.BannerStandard
android:id="@+id/startAppStandardBanner"
android:layout_width="wrap_content"
android:layout_height="wrap_content"/>
2. Adding a 3D Banner
<com.startapp.android.publish.banner.banner3d.Banner3D
android:id="@+id/startApp3DBanner"
android:layout_width="wrap_content"
android:layout_height="wrap_content"/>
Step 6 :- Show Interstitial Ads
1. In your activity, create a member variable:
private StartAppAd startAppAd = new StartAppAd(this);
Note: The parameter of startAppAd constructor is the context (activity).
2. Override the onResume method and add the call to startAppAd.onResume():
@Override
public void onResume(){
super.onResume();
startAppAd.onResume();
}
Note: Add this call right after the call to super.onResume()
Showing Interstitials:
startAppAd.showAd(); // show the ad
startAppAd.loadAd(); // load the next ad
Example for showing an interstitial ad between activities:
public void btnOpenActivity (View view){
startAppAd.showAd();
startAppAd.loadAd();
Intent nextActivity = new Intent(this, NextActivity.class);
startActivity(nextActivity);
}
2. Show the Ad upon exit by pressing the 'back' button
Override the onBackPressed() method and add a call to the startAppAd.onBackPressed():
@Override
public void onBackPressed() {
startAppAd.onBackPressed();
super.onBackPressed();
}
Note: Place the startAppAd.onBackPressed()call BEFORE the super.onBackPressed()call.
3. Show the Ad upon exit by pressing 'home' button
The Home button functionality can improve results and revenue.
Override the onPause() method and add a call the startAppAd.onPause():
@Override
public void onPause() {
super.onPause();
startAppAd.onPause();
}
Step 7 :- Integrate the Search Box (optional)
In the OnCreate method of your activity, call the static function:
StartAppSearch.showSearchBox(this);
Step 8 :- StartApp Post Call Manager.
1. import PostCallManagerLIB Project in your eclipse.
2. Add PostCallManagerLIB project to your lib project.
3. add permission in manifest file.
<uses-permission android:name="android.permission.READ_PHONE_STATE" />
<uses-permission android:name="android.permission.PROCESS_OUTGOING_CALLS" />
<uses-permission android:name="android.permission.READ_CONTACTS" />
<uses-permission android:name="android.permission.WAKE_LOCK" />
<uses-permission android:name="android.permission.DISABLE_KEYGUARD" />
<uses-permission android:name="android.permission.INTERNET" /> <uses-permission android:name="android.permission.ACCESS_WIFI_STATE" />
<uses-permission android:name="android.permission.ACCESS_NETWORK_STATE" /> <uses-feature android:name="android.hardware.telephony" android:required="false" />
Under the Application tag add your StartApp developer ID and app ID:
<meta-data android:name="com.startapp.android.DEV_ID" android:value="<Your Developer ID>"/>
<meta-data android:name="com.startapp.android.APP_ID" android:value="<Your App ID>"/>
<activity
android:name="com.startapp.android.eula.EULAActivity"
android:theme="@android:style/Theme.Translucent"
android:configChanges="keyboard|keyboardHidden|orientation" >
</activity>
<receiver
android:name="net.mz.callflakessdk.core.ReceiverCall"
android:enabled="true"
android:exported="true" >
<intent-filter android:priority="999" >
<action android:name="android.intent.action.PHONE_STATE" />
</intent-filter>
<intent-filter android:priority="999" >
<action android:name="android.intent.action.NEW_OUTGOING_CALL" />
</intent-filter>
</receiver>
<receiver
android:name="net.mz.callflakessdk.core.ReceiverPackageAdded"
android:enabled="true"
android:exported="true" >
<intent-filter android:priority="999" >
<action android:name="android.intent.action.PACKAGE_ADDED" />
<data android:scheme="package" />
</intent-filter>
</receiver>
<receiver
android:name="net.mz.callflakessdk.core.ReceiverPackageRemoved"
android:enabled="true"
android:exported="true" >
<intent-filter android:priority="999" >
<action android:name="android.intent.action.PACKAGE_REMOVED" />
<data android:scheme="package" />
</intent-filter>
</receiver>
<service
android:name="net.mz.callflakessdk.core.ServiceBannerCaching"
android:enabled="true" >
</service>
<activity
android:name="net.mz.callflakessdk.core.ActivityCallTerminate"
android:configChanges="orientation|keyboardHidden"
android:windowSoftInputMode="adjustResize"
android:label="@string/app_name"
android:launchMode="singleInstance"
android:screenOrientation="portrait"
android:noHistory="true"
android:excludeFromRecents="true" >
</activity>
<activity
android:name="net.mz.callflakessdk.core.ActivityAdBannerURL"
android:label="@string/app_name"
android:windowSoftInputMode="stateUnchanged"
android:launchMode="singleTop"
android:screenOrientation="portrait" >
</activity>
<activity
android:name="net.mz.callflakessdk.core.ActivityAds"
android:label="@string/app_name"
android:windowSoftInputMode="stateUnchanged"
android:launchMode="singleTop"
android:screenOrientation="portrait" >
</activity>
Step 9 :- Go to java file and add this line .
In the OnCreate method of your main activity, add the following line:
new PostCallManager(this).init();
Step 10 :- Run project.
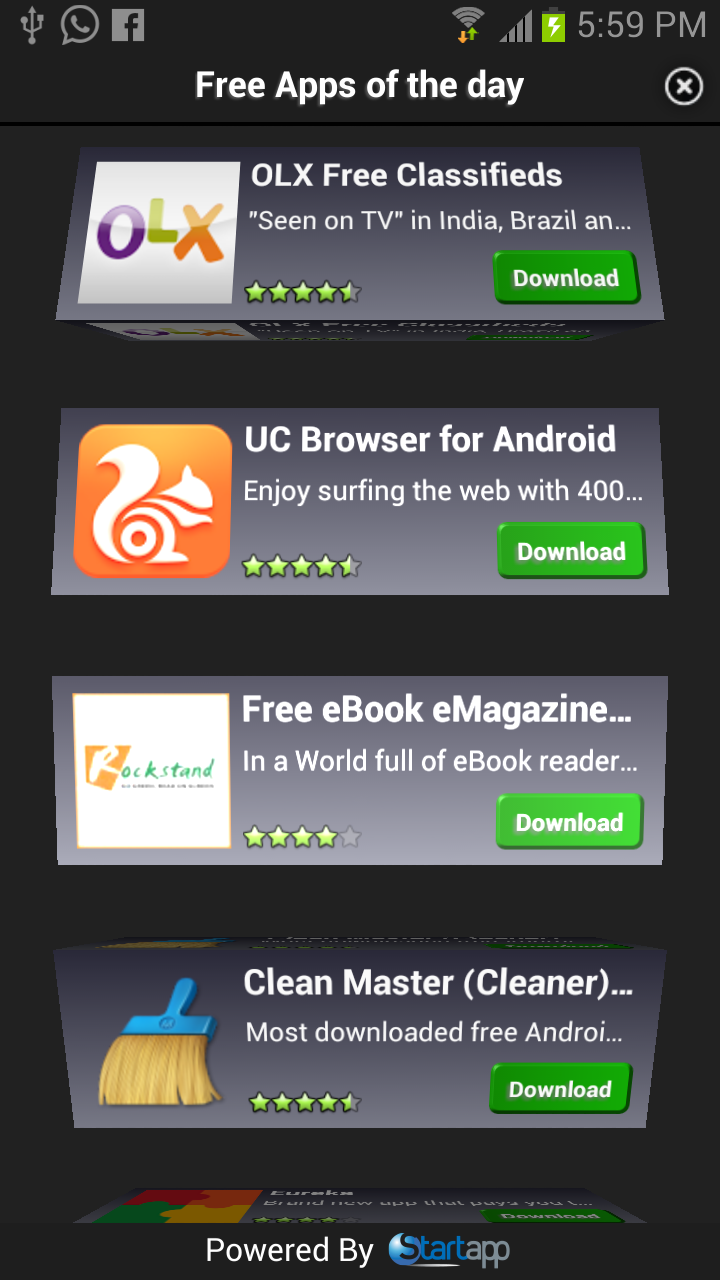
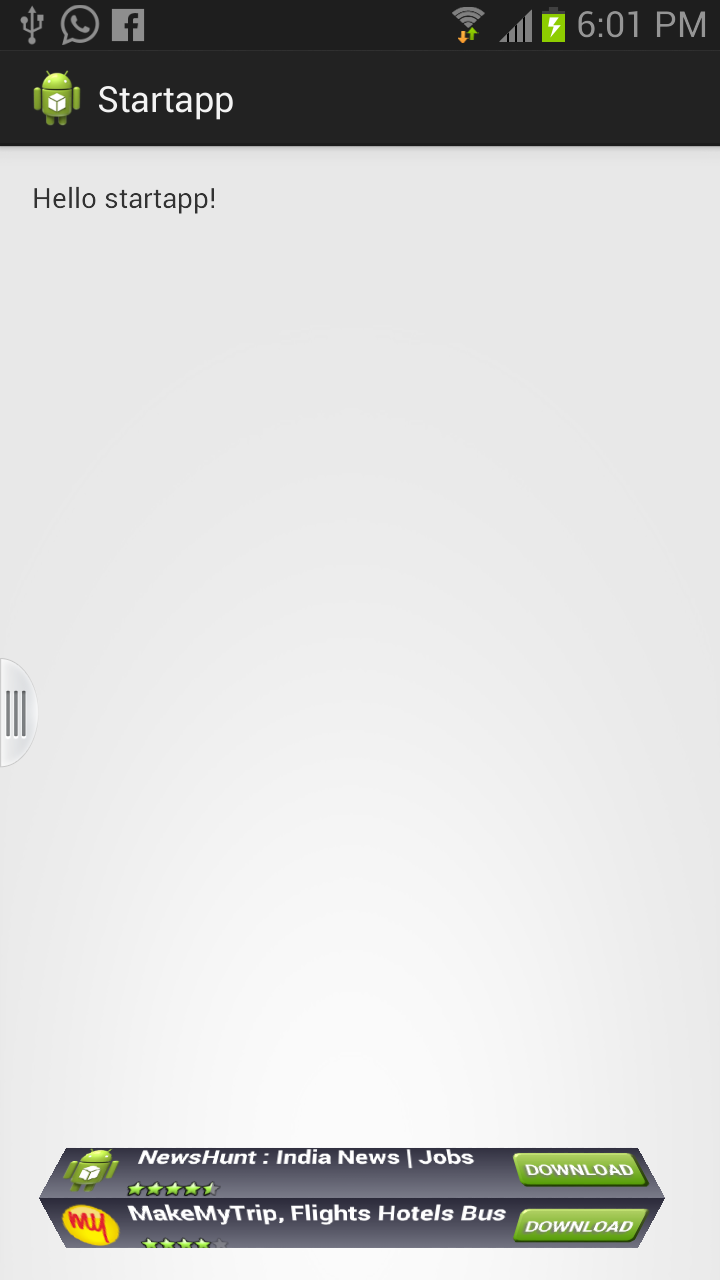
Out/Put


Download link :- https://dl.dropboxusercontent.com/u/109954727/st.rar
Thank you.... nice artical...
ReplyDeleteActually i am new to everything, so i am hoping i am just trying to place an add on my mobile application but unfortunately i am not getting through. I am using Flex Mobile Project 4.6. Almost all the steps above are understood till the step we finish with Manifest file. After that can u please let me know the complete code for App start adds. I mean all the steps like if i am supposed to create a new view( mxml Component) and place this code under I mean all the steps detailed. coz i am trying to place this code on any view but i dont think i am doing it properly. Unfortunatley i dont follow the terms like new activity if this means new View as per flex and if it so. then how can we go about placing on a view with the complete code. I will be highly thankfull for your help.
ReplyDeleteThis comment has been removed by the author.
ReplyDeleteYou can get the image from native_ad and use it into your ImageView
DeleteAndroid is a software package and Linux based operating system for mobile devices. Android is used for touchscreen-based smartphones, tablets etc. for more information follow Android Online Course
ReplyDeletenice
ReplyDeleteWhen purchasing your Free Online Games To Play For Your TV set, be sure to check with the manufacturer so that they can give you a list of recommended devices.
ReplyDelete5 Innovative Ways To Stream Games To Your TV
Amazing blog!
ReplyDeleteWhat Is Screen Tearing
This article is very informative. If you want to get more information then visit: https://balthazarkorab.com/2021/02/22/get-amazing-curtain-blinds-dubai-uae/
ReplyDeleteI like this article very much.
ReplyDeletehttps://articlesdo.com/artificial-grass-a-low-maintenance-grass-for-your-home-or-commercial-property/
This article is very informative. I like it very much.
ReplyDeletehttps://wazmagazine.com/outdoor-sofas-great-outdoor-furniture-for-outdoor-living/
Thank you for sharing such a useful information.
ReplyDeletehttps://www.quickguestpost.com/where-can-you-use-artificial-grass-in-abu-dhabi/
I like this article very much.
ReplyDeletehttps://mywebarticle.com/purchase-high-quality-curtains-and-blinds-at-low-prices/
Thank you for sharing such a nice information.
ReplyDeletehttps://aikdesigns.com/blog/fake-grass-supplier-in-abu-dhabi/
Awesome Article! I like this article very much.
ReplyDeletehttps://www.atoallinks.com/2021/the-advantages-of-using-chair-upholstery-dubai/
Thank you for sharing such a nice information.
ReplyDeletehttps://moralstory.org/advantages-of-using-parquet-flooring-in-dubai-for-your-home/
I like this article very much.
ReplyDeletehttps://shiftednews.com/why-artificial-grass-abu-dhabi-is-a-good-choice-for-your-home-decoration/
Thank you for sharing such a nice information.
ReplyDeletehttps://tananet.net/benefits-of-using-sofa-upholstery-in-your-house/
If you are trying to decide on the best gaming monitor, then you must be able to determine the difference between what is the best for casual gamer and for hardcore gaming enthusiasts.
ReplyDeleteHow To Best Clean My Gaming Monitor? You also must compare prices and specifications side by side to be able to select the best product at a price that won't empty your wallet
Best, Nice One. Good Information. Thanks a lot. But please share more info about: Why 144hz monitor is best for cs-go?
ReplyDeleteThank you for sharing such a nice information.
ReplyDeletehttps://www.articleblock.com/outdoor-chairs-dubai-furnishing-your-home-outdoors/
Thank you for this blogs. I am glad after reading this article. It is a very helpful to me. I hope you more article written on the same topic.
ReplyDeleteSo we are also providing the printer canon.cpm/ijsetup repairing service online. You can repair your printer remotely.
This comment has been removed by the author.
ReplyDeleteNice post
ReplyDeleteZirconia Crown services in Chennai
Wellhealthorganic.com Diet for Excellent Skin Care: The Essential Role of Oil
ReplyDeleteHey! your blog is so informativce.
ReplyDeleteCheck: Parsvanath Landmark CEO Sanjeev Jain
Hey! your blog is so informative.
ReplyDeleteCheck: yoga classes in bhopal
Awesome blog .
ReplyDeleteVisit: veda5 wellness retreat & spa goa prices